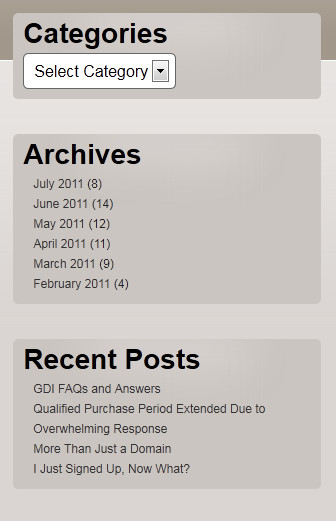
WordP ress is a great tool to create a unique website or blog. It offers some great plugins for the most basic of site needs all the way up to addons and upgrades you may never need. One way to make for a great site for your visitors and those in your network is to make your site easy to navigate. This can be done with clearly labeled links and calls to action without a ton of clutter and confusing layouts. An easy way to accomplish this with WordPress is to add a simple sidebar. As you can see from the image below, this blog uses a sidebar to help our visitors navigate that page and though past posts. Read on for our step by step guide to adding a side bar.
- Log in to your WordPress account using the same log in and password as your GDI member account. Once logged in you will be in the Dashboard area, from here, navigate to the Appearance link on the left hand side and click on “widgets” beneath appearance.
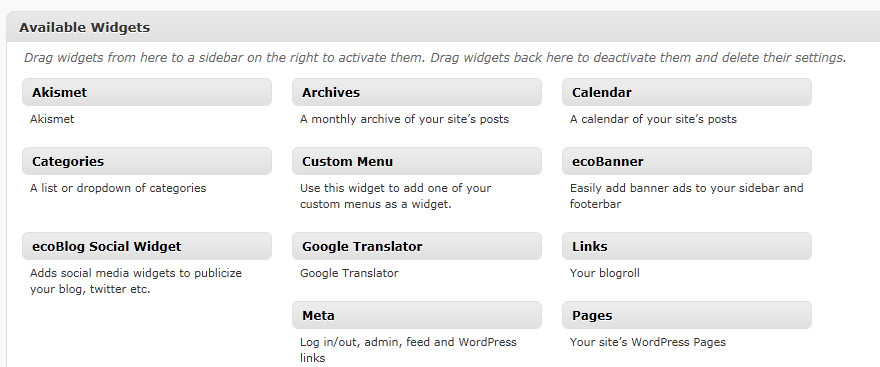
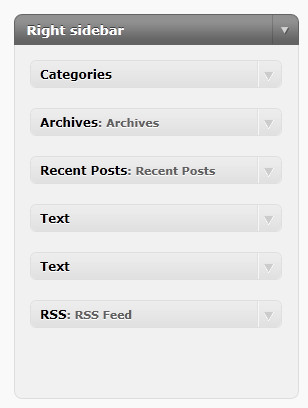
- Once you are in your widgets area you will see options to your right depending on what kind of theme you are using, but you should have at least one “Side Bar” area shown. These areas are drag and drop, meaning you simply need to chose the options from the bays of widgets in the center of the page and drag them to the sidebar area.
- Now it’s time to decide what you would like in your sidebar area. Some good widgets to use in a side bar are categories, recent posts, and archives sorted by months, like the GDI blog has. Add anything you would like to the side bar, but don’t add too much, as cluttering this area would defeat the purpose.
- After dragging each widget to the side bar area, you may need to format the widget by adding a title or adjusting some options. Take the time to reload your blog after each change to see how the widgets show, be sure to test all links and widgets to ensure they’re working.
- You’re done! Test your sidebar widgets often to ensure they are still working as desired.

