 GDI will be selection on random winner each day who sends a tweet with #IDN. Winners will receive one year free of one IDN, to which they can add services if wanted. Head over to www.Twitter.com to start tweeting or set up your Twitter account!
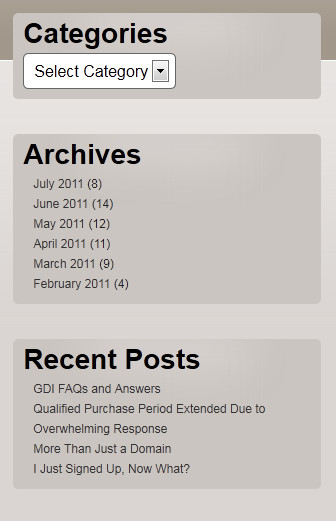
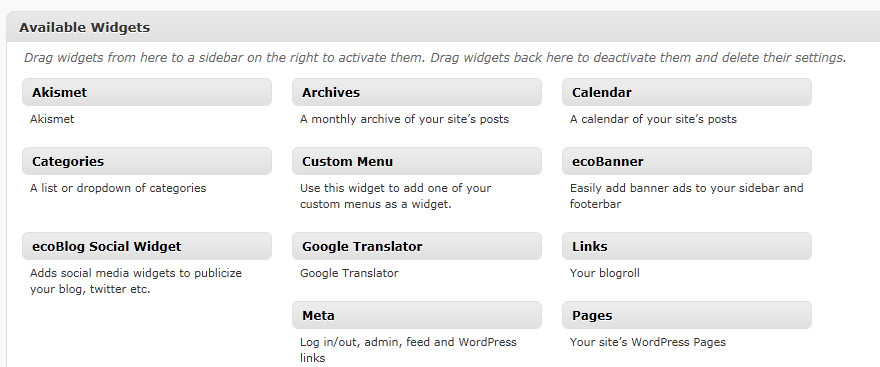
WordP ress is a great tool to create a unique website or blog. It offers some great plugins for the most basic of site needs all the way up to addons and upgrades you may never need. One way to make for a great site for your visitors and those in your network is to make your site easy to navigate. This can be done with clearly labeled links and calls to action without a ton of clutter and confusing layouts. An easy way to accomplish this with WordPress is to add a simple sidebar. As you can see from the image below, this blog uses a sidebar to help our visitors navigate that page and though past posts. Read on for our step by step guide to adding a side bar.

How do I contact my upline?
Having a responsive and helpful upline is an important part of being a successful GDI affiliate. This is important to remember as you build your downline as well, if you offer great support, you have more chance of a downline member sticking with you and GDI. To find out who your upline is and how to contact them, simply log into your members area. Once in the members area, head over to the left hand navigation and click on the “Upline” link. Here you will find your upline’s name and contact info, easy as that.
What is premium?
Premium is an upgrade option that GDI offers to all of its affiliates to allow for bigger pay outs, upgraded services and eligibility for multiple contests. Read complete details about our premium offering here.
What kind of site can I make?
You are free to make whatever type of site you would like. You can have an easy replicated site if you are just interested in the business opportunity, build out your own business opportunity site or create any type of site you would like. The possibilities are endless and if you would like to learn more about the tools we offer to help you do this, read more here.
When can I expect to make money?
We can’t offer a guarantee to when you will get that first pay check, but putting in hard work will help to get you there. Some of our top affiliates recently talked about how they started, when they first started to make great money with GDI and their tips for doing so. You can check out that video here.